Ever craved homemade ice cream but don’t have an ice cream maker? You’re not alone. This ice cream from milk without machine recipe shows you how to make soft, creamy, and delicious ice cream at home.
Read Also!!!
Vanilla Ice-Cream From Milk Recipe (No Machine Needed)
Chocolate Ice Cream From Milk (No Machine Needed)
Strawberry Ice Cream From Milk (No Machine Needed)
Very easy and quick!!!
With just a few simple ingredients, you can turn plain milk into a frozen treat that tastes better than store-bought. Whether you’re looking for an easy dessert or a fun weekend project, this homemade ice cream recipe is perfect for beginners.
Now, you know how to make ice-cream from milk . A simple recipe anyone can master
You may also like
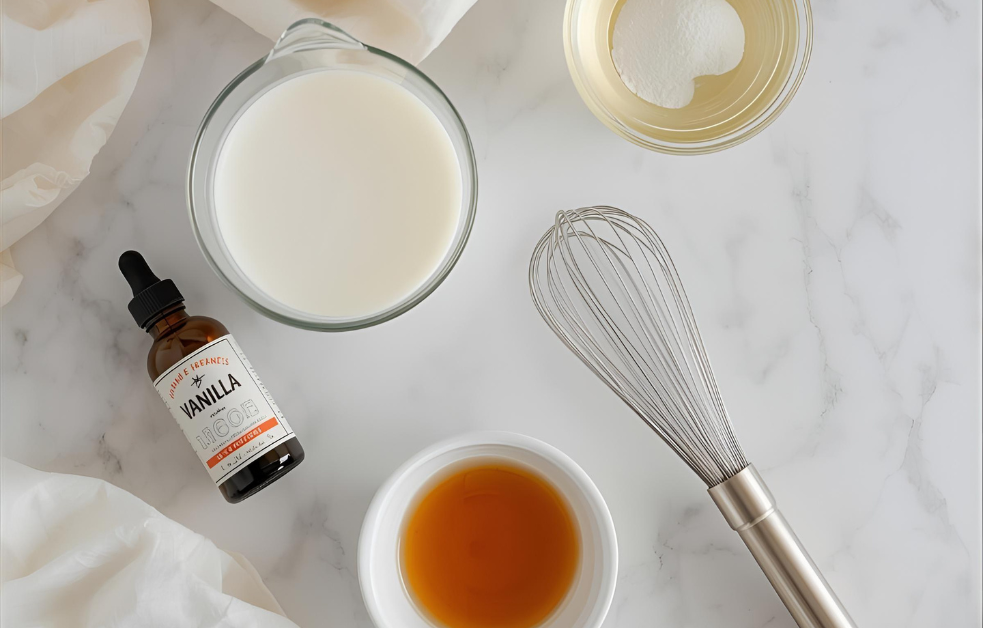
Ingredients You’ll Need to make ice- cream with milk
2 cups (480 ml) full-cream milk
½ cup (100 g) sugar
1 cup (240 ml) heavy cream (optional for extra creaminess)
1 teaspoon vanilla extract (or any flavor you love)
A pinch of salt
Step-by-Step ice-cream with milk recipe
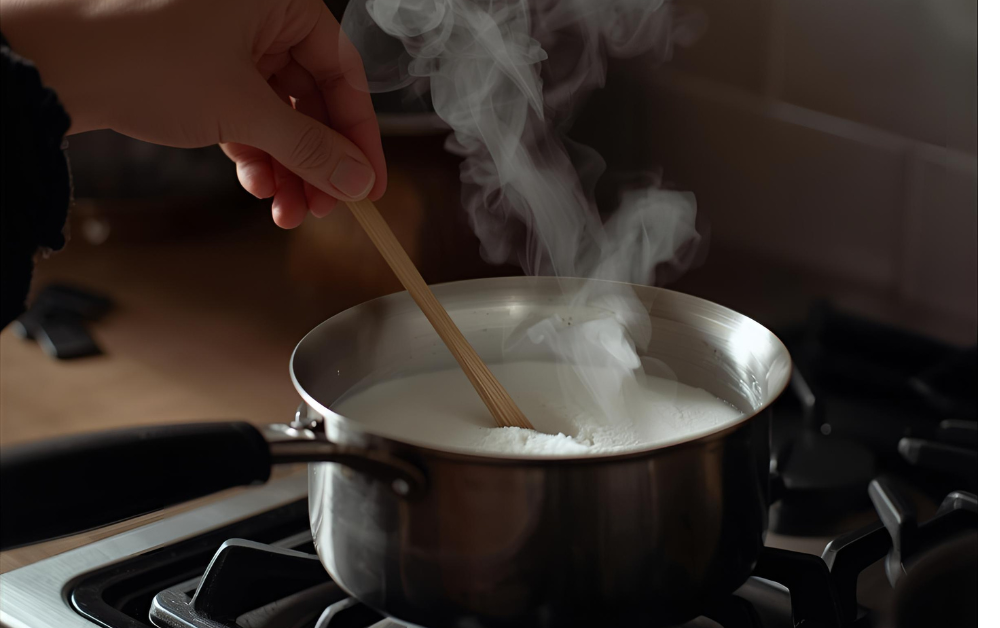
Step 1: Warm the Milk
Pour your milk into a saucepan and add sugar plus a small pinch of salt. Heat gently, just until the sugar melts. Keep stirring; you’re not boiling it, only blending everything evenly.
Step 2: Add Flavor and Cool Down
Once the sugar dissolves, turn off the heat and stir in your vanilla or chosen flavor. Let the mixture cool completely at room temperature. Cooling keeps your ice cream base smooth later.
Step 3: Optional Cream Boost
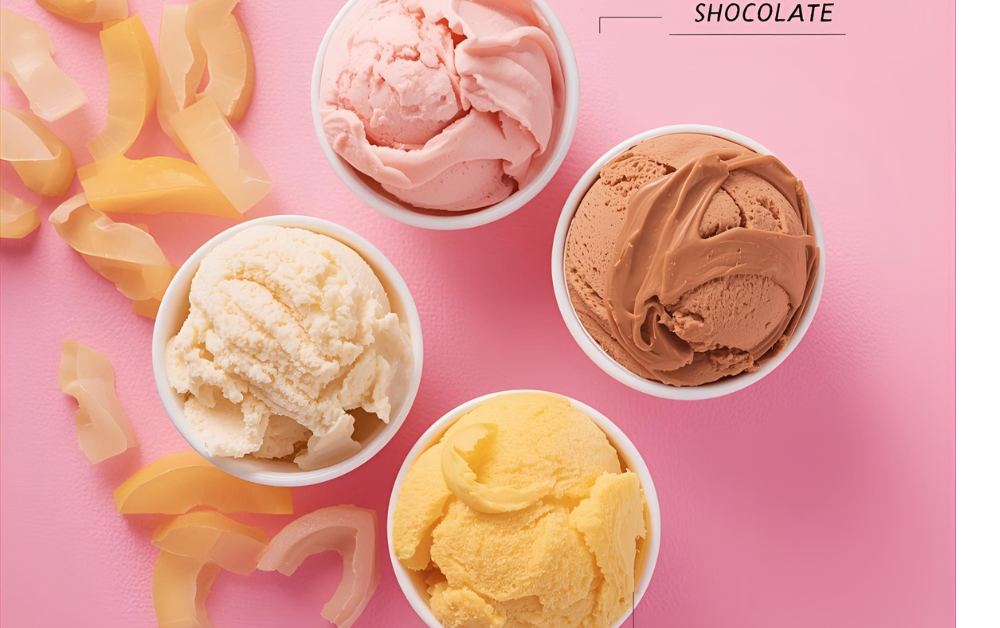
If you have heavy cream, whip it until soft peaks form. Add it into the cooled milk mixture for extra richness. It makes your no-machine ice cream extra creamy.
Step 4: Freeze and Stir
Transfer the mixture to a shallow, freezer-safe bowl. Freeze for about two hours, then take it out and whisk with a fork or hand mixer to break up ice crystals. Repeat every 30–40 minutes for about 3 hours. This step replaces what an ice-cream maker does. This aerates the mixture so it freezes light and smooth.
Step 5: Scoop and Smile
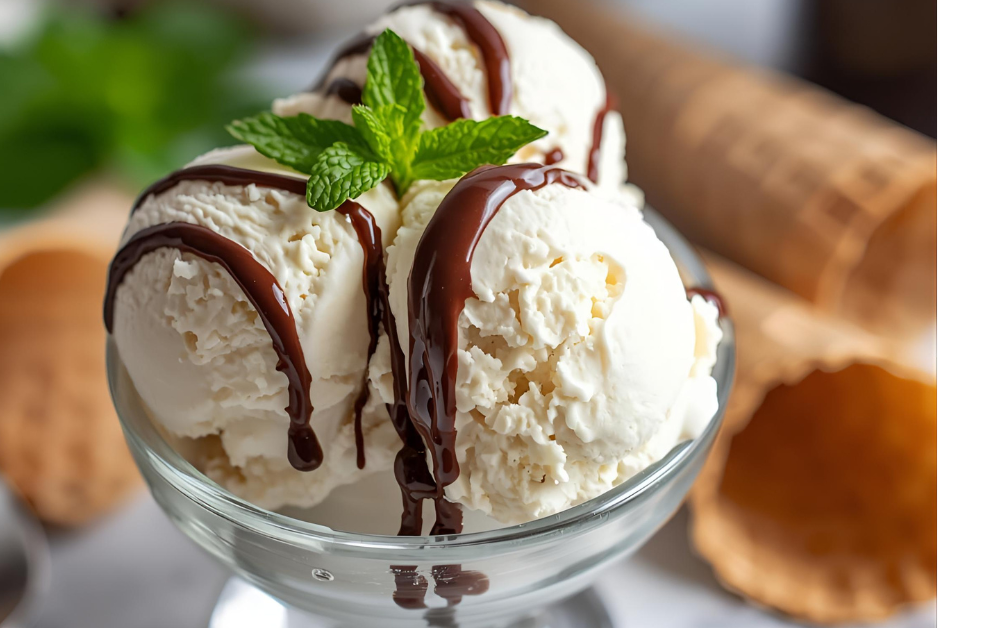
When your ice cream turns thick and creamy, it’s ready. Scoop, drizzle, top with fruits or eat it straight from the bowl.
My Secrets for Getting that Silky, Parlor-Style Scoop
- Freeze your bowl first (trust me on this): Stick your mixing bowl and whisk straight into the freezer for about 15 minutes before you do anything else. When your tools are icy cold, the milk base whips up much smoother and doesn’t get cranky or separate on you.
- Ditch the deep plastic tub: Grab a wide, shallow metal baking loaf pan or glass dish instead. Deep plastic containers take forever to chill in the center, which leaves you with crunchy ice edges. A wide, shallow dish freezes fast and evenly from corner to corner.
- The plastic wrap trick: Before you pop the lid on to freeze, press a piece of plastic wrap or parchment paper right against the top of the ice cream itself. No air touching the surface means zero icy frostbite ruining your first scoop.
- Give it 5 minutes on the counter: Since we aren’t adding weird chemical preservatives or fake gums, this freezes solid like real food should. Don’t fight it with a spoon! Let the dish sit on your kitchen counter for 5 to 10 minutes, run your metal scoop under hot tap water, and it will glide through like pure silk.
Fun Mix-Ins When You Want to Switch It Up
Once you see how foolproof this base is, you won’t want to stop at plain vanilla. Here are the fun variations my house goes crazy for:
- Cookies & Cream Madness: Roughly chop up 4 or 5 chocolate sandwich cookies (leave some big crunchy chunks!) and fold them in when the ice cream is about halfway frozen.
- Lazy Coffee Fudge Swirl: Whisk a teaspoon of instant espresso powder directly into the milk before freezing, then swirl a generous ribbon of chocolate syrup through the top right before it sets. It tastes just like an expensive iced mocha.
- Gooey Salted Caramel: Drizzle warm caramel sauce and a tiny pinch of flaky sea salt between layers as you pour the mixture into your dish. Every spoonful hits that sweet-and-salty sweet spot.
- Warm Berry Jam Ribbon: Warm a spoonful of strawberry or blueberry jam with a tiny squeeze of lemon, let it cool completely, and marble it gently through the cream. It looks gorgeous and tastes like summer.
If you enjoy simple homemade recipes, try our Soft Bread Rolls Recipe. They’re soft, golden, and ready in 30 minutes
How to Keep It Fresh (If There’s Any Left!)
Tuck your container all the way into the back of your freezer, never on the door shelf where warm kitchen air hits it every single time someone opens the fridge hunting for a snack.
Keep that plastic wrap pressed snugly over the top, and it will stay fresh, sweet, and perfectly scoopable for up to two weeks… though in my experience, an entire batch rarely survives past day two!
Curious how freezing turns liquid milk into creamy ice cream? Read this short explainer on the Science of Ice Cream
Frequently Asked Questions: Homemade Ice Cream From Milk
- Can I use low-fat or skim milk instead of whole milk? Whole milk is definitely best here. Fat is what keeps homemade ice cream creamy rather than icy. If you use skim or 1% milk, the extra water content creates hard ice crystals, leaving you with more of an icy granita texture than a velvety scoop.
- How do I stop no-machine ice cream from freezing rock-solid? Because homemade versions lack commercial stabilizers and whipped air from a churner, they naturally freeze harder. The easiest fix is adding a tablespoon of sweetened condensed milk, a dash of honey, or simply pulling the container out to sit on your kitchen counter for 5 to 10 minutes before scooping.
- How long does homemade milk ice cream last in the freezer? It is at its absolute best within the first week or two. Store it in a shallow, airtight container and press a piece of parchment paper or plastic wrap directly onto the surface before popping the lid on. This blocks air and stops freezer burn from forming.
Can I mix in toppings like fruit, cookies, or chocolate chips? Yes, but timing matters. Fold your mix-ins during the final stir when the mixture is about half-frozen (like a thick soft-serve). If you toss chocolate chips or berries in right at the start, they will sink straight to the bottom of your dish.
Making your own ice cream from everyday milk right in your freezer is proof that you don’t need fancy parlor gadgets to treat yourself to something sweet.
Once you get the basic freezing technique down, you will never look at a carton of milk in your fridge the same way again.
Did you try this batch plain, or did you stir in some of your favorite toppings?
Let me know in the comments below how yours turned out, and don’t forget to bookmark this recipe for the next time an after-dinner sweet craving hits!